Monday, July 29, 2019

The Tomix condominium building

I have had one of the  Tomix # 4034 condominium buildings on the left end of the module bolted down but left unpainted since 2011.  It was time to finish and and make it something more unique.

This is a really well designed building model and additional kits can be used to make it as short or tall as you want.  It holds together without glue and can be taken apart for painting.
I air brushed the building sections with Testors sand and wrote the color and part number on the inside of the 1st floor in case I want to add more sections later and need to match the color.  All the patio areas and the roof top were painted concrete and the entry doors dark gray.
The base was brush painted with concrete colors on the sidewalks and building foundations. Reefer gray was used for the parking area.  The gate to the parking area came from the Green Max fence set with the lamps added from a TomyTec festival figure set.

The stairs are separate pieces that stack on top of each other and match the walkway on each floor.  These are another well executed part of this model but my only complaint would be that they don't include some sort of cap piece to go on the top of the column.  I went through all my scraps and found something to make my own.  The blue arrow in this photo points out this piece I added.
The top part that is above the elevator shaft got a coat of Testors dark green and the entire building was given a wash with Testors brown weathering wash which helps to bring out the brick detail.

Several sign stickers are included in this kit and I chose to use the one that did not have any English writing.

This model has lots of possibilities for details and I will get into that in the next couple of posts.
 

Tuesday, July 23, 2019

Meanwhile on the other side of town

A lot of my efforts on the Musashi-Koyama module set over the past few years have been in the center and right end areas.    It's time to turn some attention to the other end.  Since 2011 I have had a number of buildings on the Musashi-Koyama module set that would be set in place for a show then put away in a box afterward.  I have decided it was time to start mounting these buildings on the module for an easier setup.  Also some of them are rather un-decorated so some painting and detailing would also be in order.

The first building I am going to work on is this one that I picked up for a couple of bucks at a train show years ago.  It is European looking but I thought it could be made to fit in on the module.


This photo shows how I created a way to mount it on the module so it could be removed later.  This view also shows a side where the first floor would make a great spot for a Japanese convenience store but for now I am going to use the other side.


For years I have been mistakenly calling this building the "Faller building" but have now discovered from the writing under the roof that it is actually Vollmer model # 7721.
This is how the building now looks after a bit of touching up.  The advertising poster covers up a scar the original model had.

Some vending machines were made up from some stickers I had from various kits.  I do plan to add quite a few vending machines through the module and will feature that in detail in a future post.

Tuesday, July 16, 2019

Vehicles for the highway

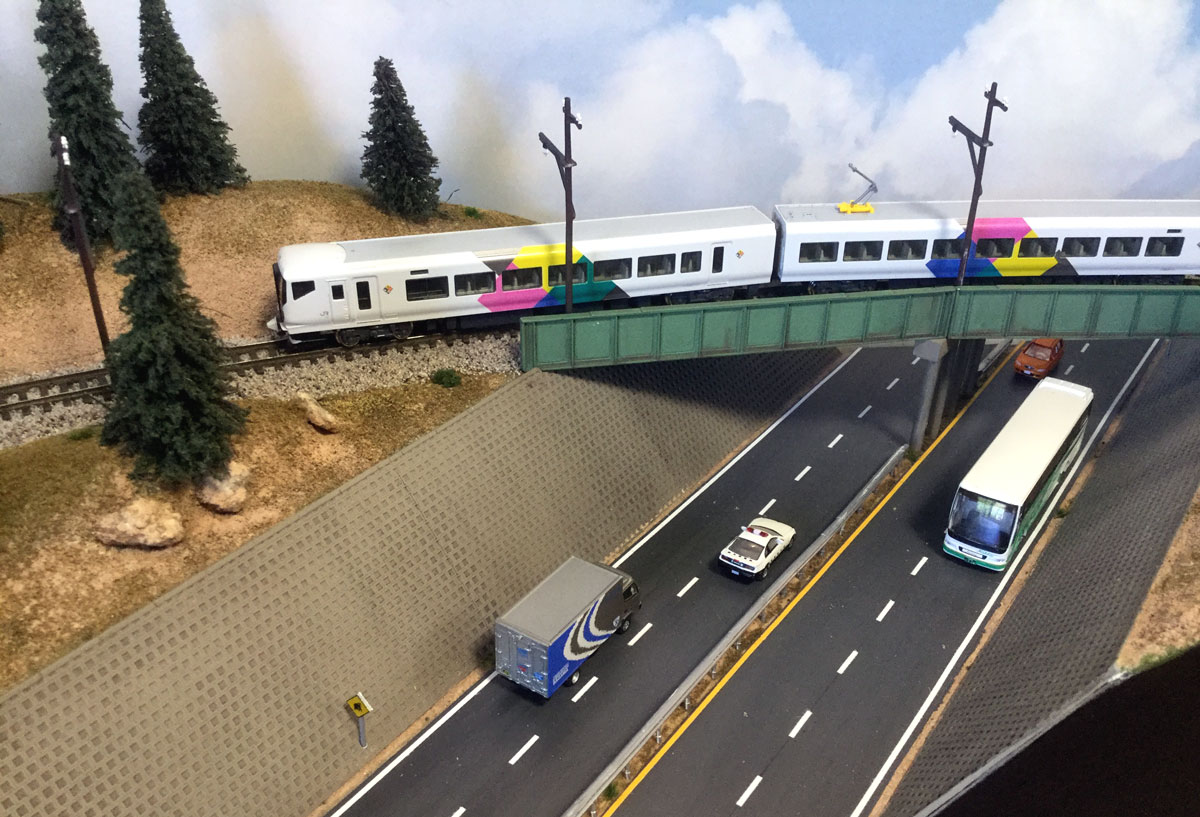
When we build scenery on modules for public display we have to decide if motor vehicles will be glued down permanently or just set on the module.  I like to have as many as possible not glued down so I can set them up differently at each setup.  The problem is that when the module gets bumped, the vehicles slide around into unrealistic positions.   With this module I wanted to try something different.

A few years ago I had purchased 100 small magnets on ebay and have been using them for various projects.   I glued several of these under the lanes of the highway in various places.


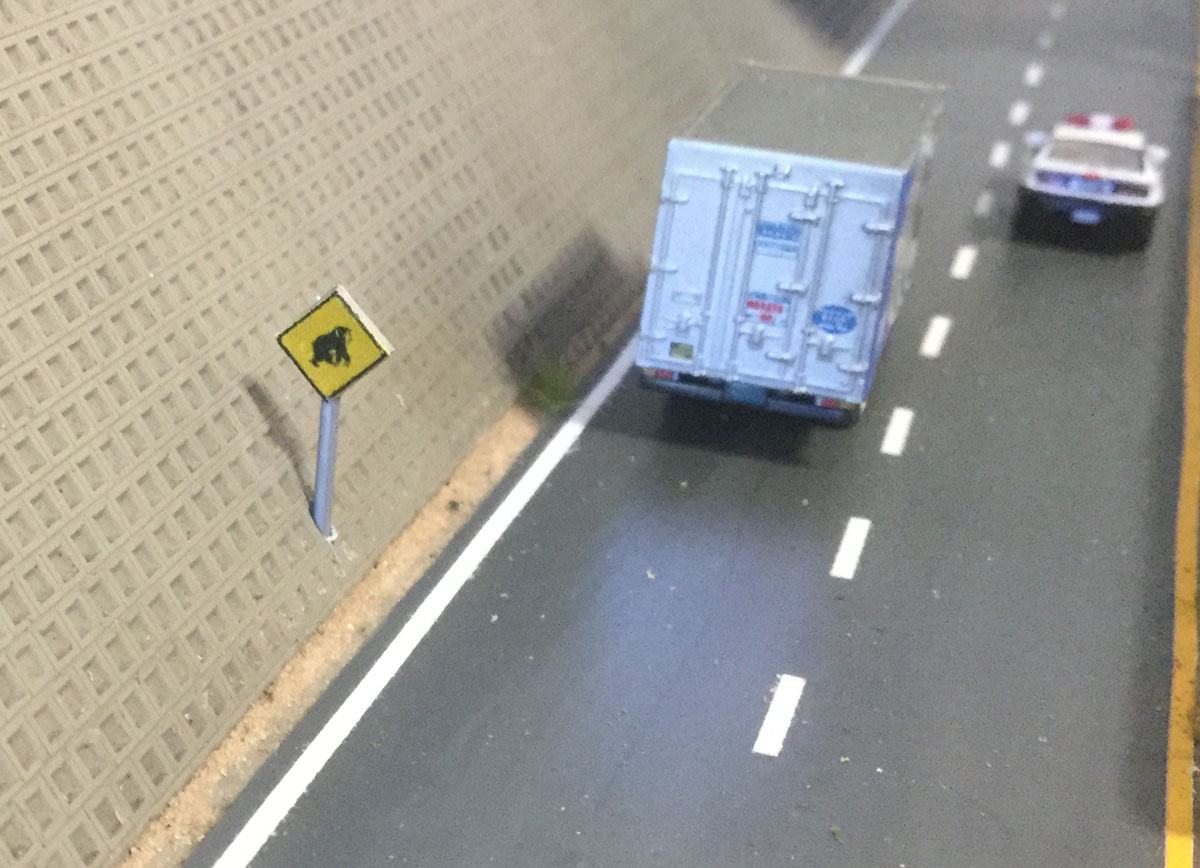
My first thought was that I could just place small pieces of metal under my vehicles but because the base of the highway is 1/2 inch thick plywood the magnetic pull was not strong enough.  I wish I had used some thinner material for the base of the highway instead of using the section I had cut from the base.

So plan B was to use the same magnets in or under the vehicles.  Mostly trucks and buses will be displayed on this highway so space for the magnets should not be too much problem but because it is going to be magnet to magnet the polarity of the magnets will need to be tested for attraction before installation.

The buses were easy as they are low and plenty of room between the frame and interior insert.

The the frames on the larger trucks are higher so a black painted magnet under the frame was the answer.

With some minor modification to the chassis and window unit I was able to get one of these magnets into the TomyTec Nissan 350Z and also a Honda Fit.
I had kept a box that an ipad had come in and found that it made the perfect box to store these vehicles in.  Some cardboard was used to make a tray with dividers in between rows.  Heads from roofing nails are glued to specific spots for the vehicles to be held in position.


Thursday, July 11, 2019

Highway module - Details and Done.

Over the past few days I have been adding some of the little things to the module.  Biggest of which were the overhead trolley poles.

The forest that I had started has been augmented with some shrubs and forest debris.
I have a Greenmax sign set but the speed limits seemed too low for a highway so I found a graphic on the Internet for 90 kmh and made a decal that I applied to one of the Greenmax signs.

Of course I added some vehicles to the highway, more on that in the next post.
Another custom sign I made was something I had seen several times when riding the bus through the mountains in Japan.  It is a sign warning of monkeys possibly crossing the road.  This again was a decal made from graphics mounted on a Greenmax sign.
I had an idea to have a few model monkeys on this module but not finding any I used the two remaining deer left in a Pieser deer set. 

This module is now ready to go.  With the time left before the convention I hope to add a few things to the Musashi-Koyama modules.

Monday, July 8, 2019

Fourth update on the new module

This is the fourth general update on the rebuilding of this very old module.  Things have been moving along quickly and now it's almost done. 

A single section of Peco code 55 flex track was enough to complete this small module end to end with a couple inches left over.   I normally use while glue for laying track but on this one I used my stronger water resistant E6000 adhesive.  Track was painted with Testors Rail Brown.
This is a view of the bottom of the module showing the wiring and connections to adjoining modules.

After the track was down and feeders installed I was able to complete all the wiring under the module.  As pointed out in blue in this photo, areas have to be kept clear for the legs and for the clamps that will hold this module to others.   That can be a bit of a challenge on a small module like this one.

This module was then tested with other modules being connected to it and a locomotive run back forth so that all the connections could be verified as working correctly.


Borrowing another good idea from our friends at FreemoN, I picked up a few welders clamps from Harbor Freight for holding the modules together.

I used Arizona Rock & Mineral ballast.  The specs for AsiaNrail modules call for a switchable block gap so I cut those with a razor saw.  This was done before I ballasted but I forgot to get a photo then.


While I was running the test train between the modules I started to plant the forest.  There are still some details to add and some touch ups to take care of but this module is almost ready.

Wednesday, July 3, 2019

Another curved railroad bridge part 2

Finally we get to the second and final post on the curved railroad bridge.  I needed to get the highway done first before installing the bridge.

The bridge assembly was air brushed with Testors pale green and then weathered with Testors acrylic weathering wash and Bragdon Enterprises weathering powders.


The highway sign was made from a photo I found on the Internet.   The printout was glued to a .020 thick piece of styrene which was then glued to the bridge.

The support columns were paint Testors concrete and given the same weathering treatments before being glued into place in the highways center divider.

With the bridge installed, the module is now ready for track and ballast.

Monday, July 1, 2019

The Highway

A module called the highway module needs to have a highway and I intend to have this be the focal point of this small module and will use the space to display some of my Japanese vehicles.

The highway surfaces were cut from .030 Evergreen 24 inch long styrene sheet and glued onto the base with Liquid Nails adhesive.  The lanes were then painted with Testors acrylic Reefer Gray and the striping was done with Builder In Scale products.  Then the road was given a spray of Dullcoat.

I picked up Kato set 23-213 Guardrails and Road Fences to make some highway guard rails for a scene on my American prototype layout and used it again on this project.

These are really handy sets to have around.  They have both highway guard rails and the type of street fences that are common in Japan both in various lengths.    I will be adding some of those street fences on the Musashi-Koyama module set and will post on that when I do.

To make a double sided guard rail I removed the posts from one section and filed the backs of both sections flat.  Then I glued them back to back and brush painted them with Floquil Old Silver.  To create a long guard rail several shorter sections were used with the joints staggered.
A few of the standard posts were cut off and a hole drilled in their place.  Then a short length of .040 steel rod was glued into the hole.   These longer post were glued into matching holes in the center divider between the lanes.
Here is the finished highway.  The glue in the center divide has not dried yet and has just gotten some ground foam scenery material blown onto it.  I may also add some small shrubs under the guard rails between the post when I am adding details.